共计 3924 个字符,预计需要花费 10 分钟才能阅读完成。
整体的实现思路比较简单,就是让眼睛图片随着鼠标的移动而对应转动。文末附完整项目下载地址。
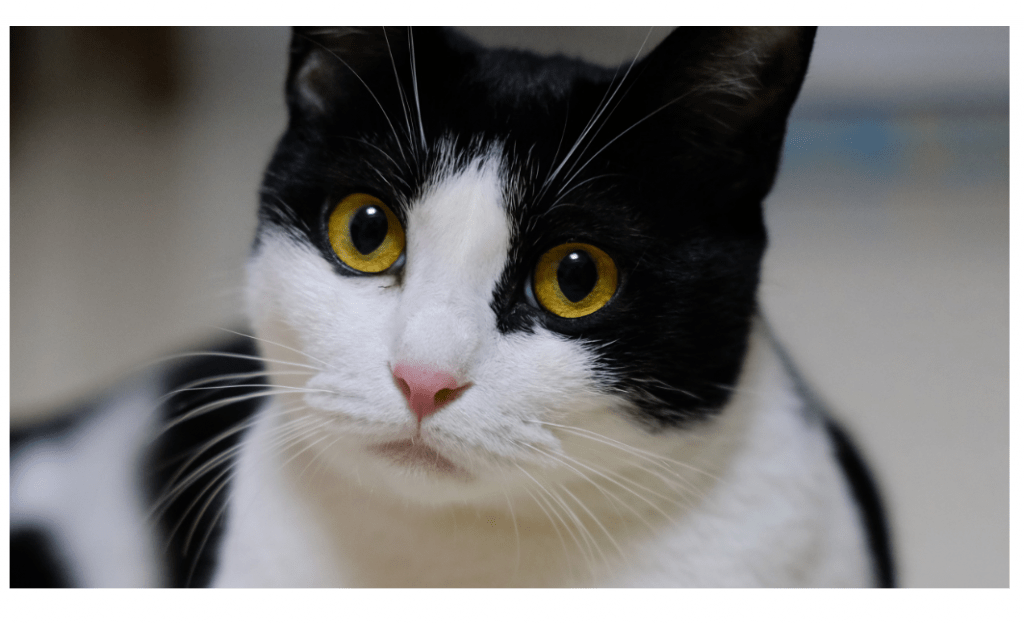
首先找一个素材,从网上找到了一只可爱的小猫咪:
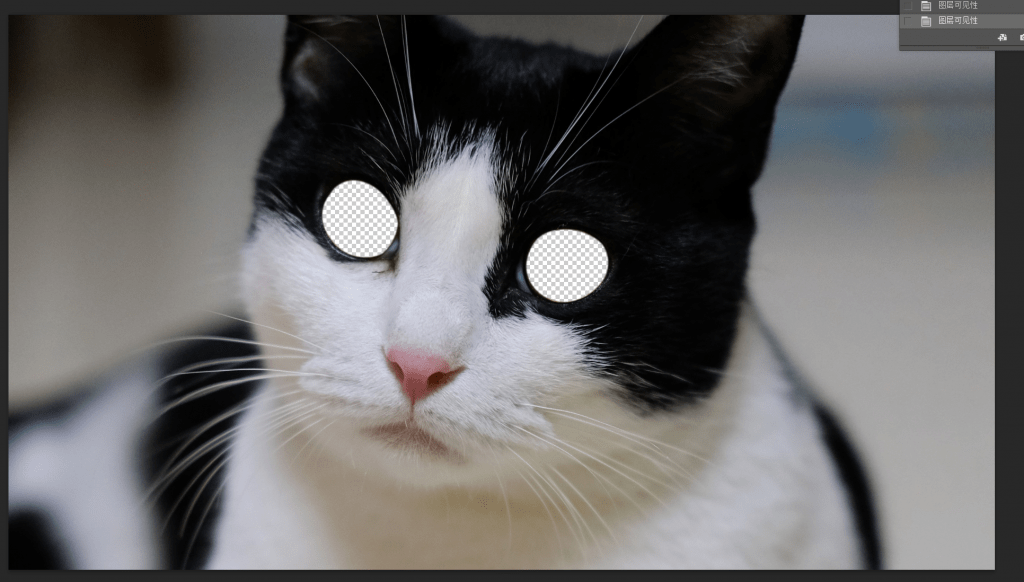
因为在我们的项目中,眼球是一个可移动部件,所以需要用 PS 裁剪出来:
再找两个眼球来做他的眼睛。
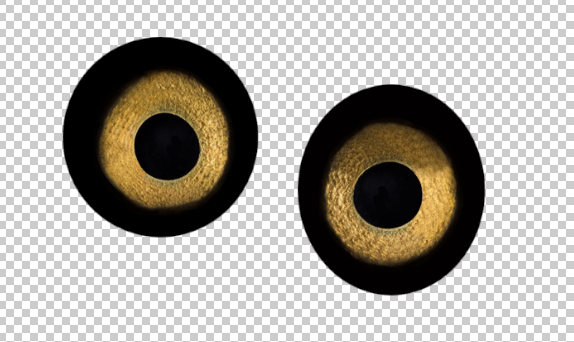
不用它原本眼睛的原因是,需要眼睛有一定的活动范围,用它的原装眼睛需要手动填补一圈,我 PS 技术不太行,出来效果一般,所以这里只能退而求其次。找其他素材来使用拉。不过用什么素材,流程都是大同小异的。
新建一个 HTML 文件,内容如下,这里用另外的 CSS 文件来描述样式。
<head>
    <body>
        <link REL=stylesheet href="style.css" type="text/css">
    </body>
</head>
新建一个 style.css 文件,来指定背景图片:
body {background-image: url("cat_body.png");
    background-position: center center;
    background-repeat: no-repeat;
    background-attachment: fixed;
    background-size: cover;
    background-color: #000000; -- 背景色是黑色,主要填补眼眶空白处
    margin:0; -- 这样全屏下鼠标在边缘也可以识别
    padding:0;
}
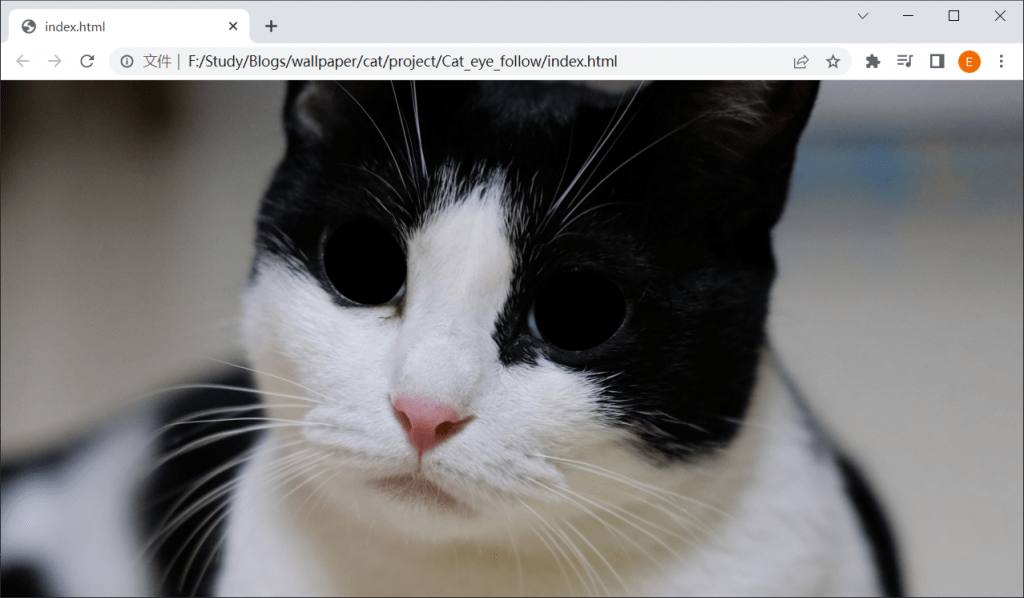
用浏览器打开 HTML 文件,可以看到背景已经放上了没眼睛的猫猫了;
接下来为它添加眼眶,这是眼睛的显示区域,如果直接再背景上显示图片,就没有遮挡的效果,图片会完整的显示,会很奇怪。就像显示在最上层图层一样。所以在 HTML 中添加两个div:
<head>
    <body>
    <link REL=stylesheet href="style.css" type="text/css">
        <div class="left_avatar">
        </div>
        <div class="right_avatar">
        </div>
    </body>
</head>
并在 style.css 文件中指定位置,大小等样式:
#left_avatar{
    width:8.4%;
    height:16%;
    border :2px solid blue; -- 为了方便调试位置用,后续设置成 0
    border-radius:  60% 80%; -- 椭圆边框
    box-shadow: 20px 20px 50px #000000 inset;
    overflow: hidden;
    display: inline-block;
    position:absolute;
    top:28%;
    left:31.5%;
    text-align: center;
}
#right_avatar{
    width:9.4%;
    height:16%;
    border :2px solid blue;-- 为了方便调试位置用,后续设置成 0
    box-shadow: 20px 20px 50px #000000 inset;
    border-radius:  60% 60%;
    overflow: hidden;
    display: inline-block;
    position:absolute;
    top:35.8%;
    left:52.1%;
    text-align: center;
}
这里的位置使用父元素的百分比来定位,这样的好处是会随着窗口大小的变化而变化(因为父元素是 body,所以这样也是可以的)。
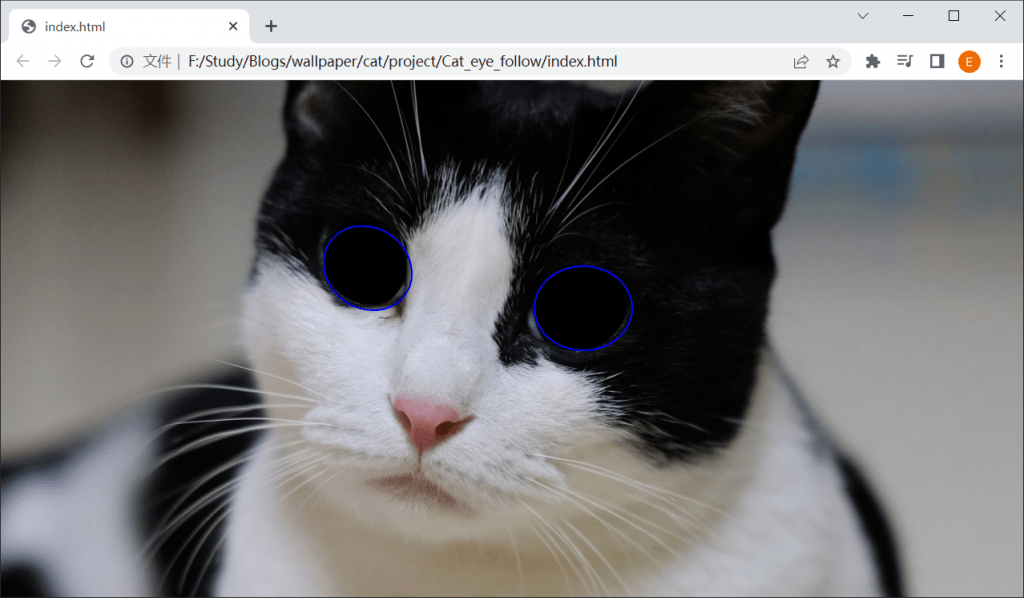
如果你用其他美术素材,那上述参数需要你慢慢调整。在完成位置的调试后,就可以把 border 大小设置成 0 了。
接下来我们把小猫的眼睛安装上去:
<head>
<body>
<link REL=stylesheet href="style.css" type="text/css">
    <div id="left_avatar">
        <img id="left_eye" src="left_eye.png">
    </div>
    <div id="right_avatar">
        <img id="right_eye" src="right_eye.png">
    </div>
</body>
并设置它们的参数:
#left_eye{
    position:absolute;
    height:33vmin;
    width:30vmin;
    top:-10vmin;
    bottom:0px;
    left:-6.5vmin;
    right:0px;
}
#right_eye{
    position:absolute;
    height:35vmin;
    width:30vmin;
    top:-10vmin;
    bottom:0px;
    left:-5vmin;
    right:0px;
}
这里的参数使用 vmin , 他的意思是取vh 和vw中的较小值,而 vh 和vw意思是当前可视窗口的高和宽。因此也可以做到随着窗口的变化而保持大小。
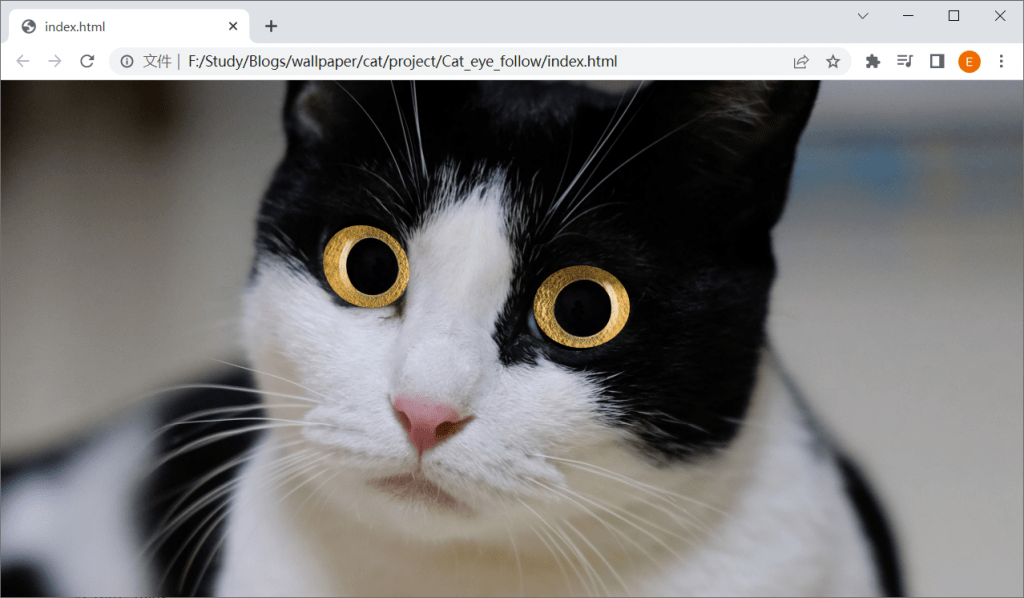
emmmm,智慧的眼神,有一点违和感,我感觉是因为素材光影、亮度之类的原因。这应该是素材带来的问题,本文暂时主要在于说明整个流程。如果有更合适的素材,进行一个替换就可以了。
接下来是核心的代码部分,在 HTML 文件的 </body> 和</head>标签之间 添加 Script 代码:
<script type="text/javascript">
    var updateEyeballPosition = function(){
        var docu_body = document.body;
        docu_body.onmousemove = function(e){var pointer = getCoordInDocument(e);
            var left_eyeball = document.getElementById("left_eye");
            var right_eyeball = document.getElementById("right_eye");
            var left_eye = document.getElementById("left_avatar");
            var right_eye = document.getElementById("right_avatar");

            var left_rect = left_eye.getBoundingClientRect();
            var right_rect = right_eye.getBoundingClientRect();
            var center = {left: left_rect.left + (right_rect.right - left_rect.left) / 2,
                top: left_rect.top + (right_rect.bottom - left_rect.top) / 2
            }

            var max_margin = (left_rect.right - left_rect.left) / 115;
            var x = pointer.x - center.left;
            var y = pointer.y - center.top;

            var d  = Math.sqrt(Math.pow(x,2)+ Math.pow(y,2));
            var r = -(max_margin)*Math.exp(-d/max_margin/50) + max_margin;

            var cos_theta = x/d;
            var theta = Math.atan(-y/x);

            left_eyeball.style.left = -6.5+r*cos_theta+"vmin";
            right_eyeball.style.left = (-5+r*cos_theta) +"vmin";
            if (y>=0){left_eyeball.style.top = -10 + r*Math.sqrt((1-Math.pow(cos_theta,2)))+"vmin";
                right_eyeball.style.top = (-10 + r*Math.sqrt((1-Math.pow(cos_theta,2))))+"vmin";
            }
            else{left_eyeball.style.top = -10-r*Math.sqrt((1-Math.pow(cos_theta,2)))+"vmin";
                right_eyeball.style.top = (-10-r*Math.sqrt((1-Math.pow(cos_theta,2))))+"vmin";
            }
        }
    }

    var getCoordInDocument = function(e) {
        e = e || window.event;
        var x = e.screenX ;
        var y= e.screenY ;
        return {'x':x,'y':y};
    }

    window.onload = function(){updateEyeballPosition();
    };

</script>
代码在窗口加载时为 body 注册了一个检测鼠标移动事件就会触发的函数,在这个函数内两个眼睛图片会随着鼠标的位置跟着移动。
其中 max_margin 变量作为一个参数来限制眼睛可以移动的最大范围,不然有可能鼠标移到屏幕边缘时眼睛就不见了。
变量 d 表示鼠标的位置和两眼的平均中心点位置的欧式距离。
变量 r 则计算换算成合理的移动距离,如果直接用 d 就会导致眼睛超出范围,因此这里用一个函数来进行换算 (m 表示 max_margin):
$r = -me^{-\frac{d}{50m}}+m$
它的正半 x 轴的函数图像如下:
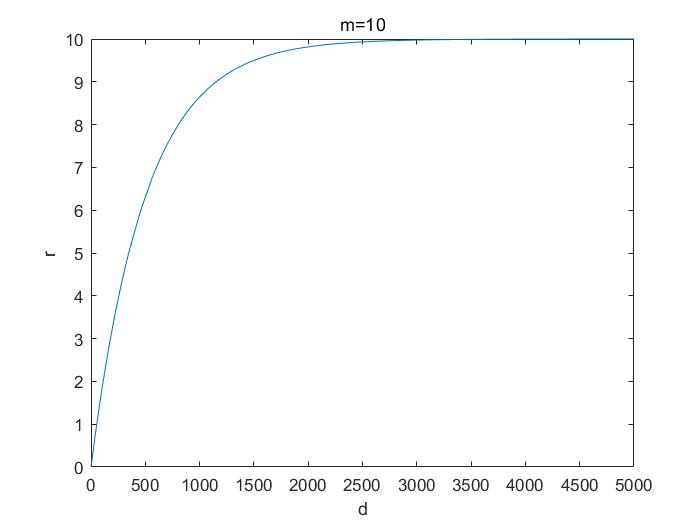
这个函数保证了 d=0 时r=0且 d 趋向于∞ 时r=m,因此完全符合我们的需求。式子中的 50m 用来调整其逼近 m 的速度,让眼睛的位置变化更平缓。
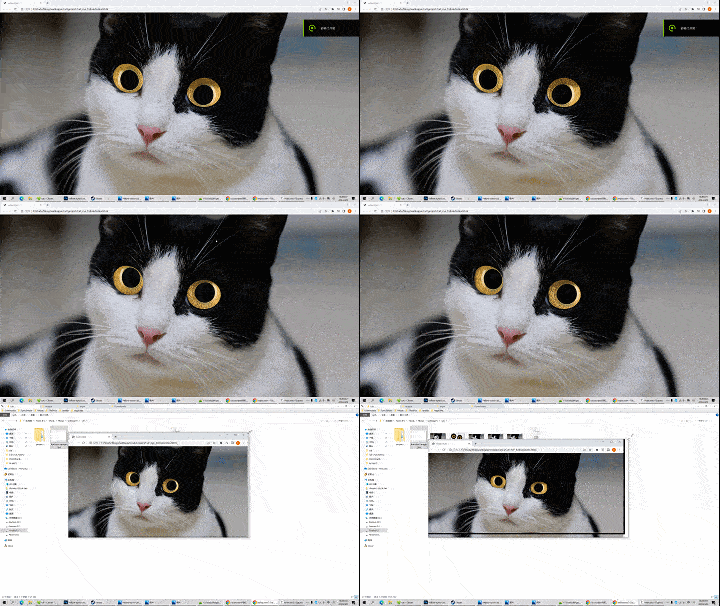
附 Wallpaper Engine Steam 创意工坊地址:https://steamcommunity.com/sharedfiles/filedetails/?id=2959357847